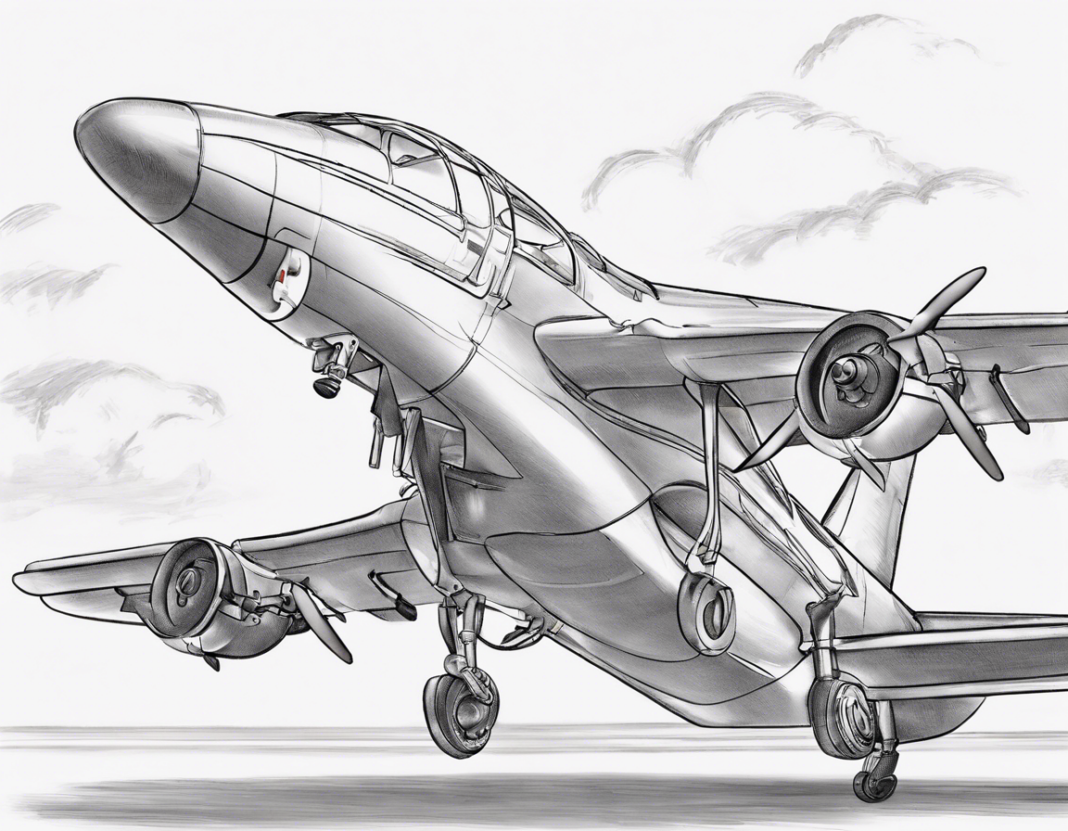
Drawing an aeroplane can be a fun and rewarding activity for artists of all levels. Whether you are looking to add a touch of aviation to your artwork or simply want to practice your drawing skills, this step-by-step guide will help you create a detailed and realistic aeroplane drawing.
Materials Needed:
Before we dive into the steps, it’s important to gather all the necessary materials. You will need:
– A pencil
– Paper
– Eraser
– Ruler
– Colored pencils or markers (optional)
Step 1: Sketch the Basic Shape
Start by lightly sketching the basic shape of the aeroplane. Use your pencil to draw a long, slightly curved line for the body of the aeroplane. Add a smaller, curved line at the front for the cockpit and a pair of wings on either side of the body. Remember, this is just a rough sketch, so don’t worry about making it perfect.
Step 2: Add Details
Next, begin adding details to your aeroplane. Define the shape of the cockpit and add windows. Add the tail and tail wings at the back of the plane. Then, sketch the engines on the wings and any other details you want to include, such as markings or a logo.
Step 3: Refine Your Drawing
Once you have all the major components of the aeroplane sketched out, go back and refine your drawing. Use your ruler to straighten out any uneven lines and erase any unnecessary guidelines. Pay attention to the proportions and symmetry of the aeroplane to ensure it looks realistic.
Step 4: Add Shading and Color (Optional)
If you want to take your drawing to the next level, you can add shading and color. Use your pencil to add shading to different areas of the aeroplane to create depth and dimension. You can also use colored pencils or markers to add color to your drawing, making it more vibrant and realistic.
Step 5: Final Touches
Once you are satisfied with your drawing, make any final touches. Add additional details, such as clouds in the background or a runway beneath the aeroplane, to complete the scene. Sign your artwork and feel proud of your finished aeroplane drawing!
Tips for Drawing an Aeroplane:
– Study reference images of aeroplanes to help guide your drawing.
– Practice drawing basic shapes and proportions to improve your skills.
– Experiment with different styles and techniques to find what works best for you.
– Don’t be afraid to make mistakes – they can help you learn and grow as an artist.
Frequently Asked Questions (FAQs):
Q: How can I draw the perspective of an aeroplane flying in the sky?
A: To draw an aeroplane in perspective, start by sketching the horizon line and vanishing points. Use these points as a guide to create the illusion of depth and distance in your drawing.
Q: What are some common mistakes to avoid when drawing an aeroplane?
A: Some common mistakes to avoid include neglecting proportions, forgetting to add details like landing gear, and not referencing real aeroplanes for accuracy.
Q: Can I use a tablet or digital software to draw an aeroplane?
A: Yes, you can certainly use digital tools to draw an aeroplane. Many artists find digital drawing software to be convenient and versatile for creating detailed and realistic artwork.
Q: How can I make my aeroplane drawing more realistic?
A: To make your aeroplane drawing more realistic, focus on adding textures, shading, and details like rivets, doors, and antennas. Pay attention to lighting and shadows for a more three-dimensional look.
Q: Are there any online tutorials or courses I can take to improve my aeroplane drawing skills?
A: Yes, there are plenty of online tutorials and courses available that can help you improve your aeroplane drawing skills. Websites like YouTube and Skillshare offer a wide range of resources for artists of all levels.
Drawing an aeroplane can be a challenging but fulfilling artistic endeavor. By following these steps and tips, you can create a stunning aeroplane drawing that showcases your creativity and skills. Remember to practice regularly and don’t be afraid to experiment with different techniques to find your unique style. Happy drawing!


